- 1Neck
- 2Shoulder
- 3Chest
- 4Natural waist
- 5Seat
- 6Bicep
Numbered paths are placement cues. Use the written garment-specific steps for exact landmarks, posture, tension, source, and verification.
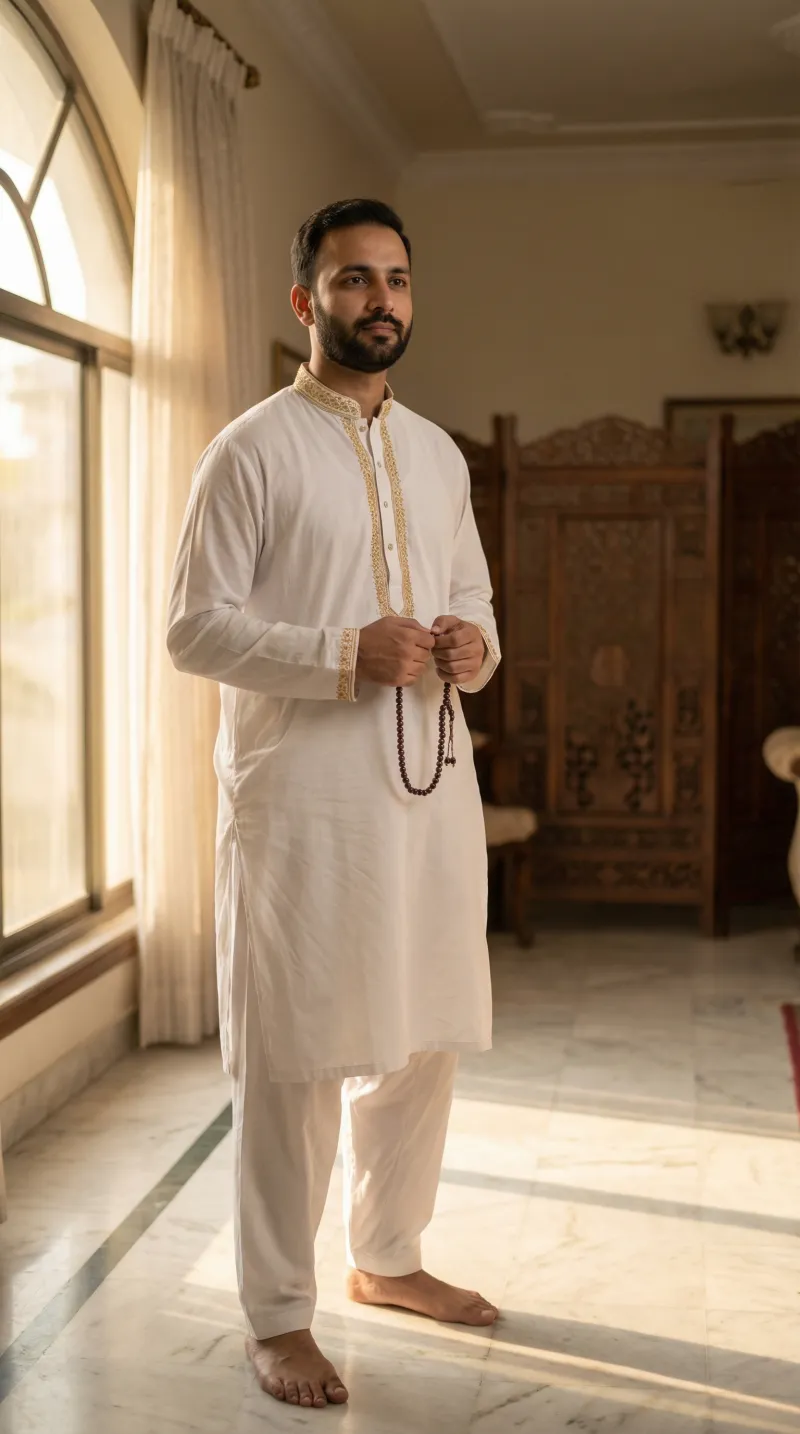
The short answer
Kurta measurements must describe the body, the intended looseness, the shoulder and sleeve relationship, the chosen hem, and the side-slit position. A casual kurta and a structured wedding kurta should not use the same ease by default.
Kurta measurement chart
| Field | Value | Source / note |
|---|---|---|
| Neck | ____ in / cm | Body / garment / photo |
| Shoulder | ____ in / cm | Body / garment / photo |
| Chest | ____ in / cm | Body / garment / photo |
| Natural waist | ____ in / cm | Body / garment / photo |
| Seat | ____ in / cm | Body / garment / photo |
| Bicep | ____ in / cm | Body / garment / photo |
| Sleeve | ____ in / cm | Body / garment / photo |
| Armhole reference | ____ in / cm | Body / garment / photo |
| Kurta length | ____ in / cm | Body / garment / photo |
| Hem width | ____ in / cm | Body / garment / photo |
| Side-slit height | ____ in / cm | Body / garment / photo |
| Trouser waist | ____ in / cm | Body / garment / photo |
Record the context
Write down the garment, desired fit, unit, date, measurer, capture method, and whether each number came from the body or an existing garment. Keep body measurements separate from finished-garment specifications and ease.
Common mistakes
- Treating body chest as finished garment chest
- Ignoring seat room on longer kurtas
- Copying a dropped shoulder accidentally
- Choosing length without the planned trouser
Verification checks
- Compare related circumferences, lengths, height, and usual size for obvious conflicts.
- Repeat high-risk values and photograph the tape position when a landmark can be interpreted two ways.
- Review posture, asymmetry, footwear, support garments, and any expected body change before pattern release.
How to take the values
01. Prepare and choose the fit
Wear a close-fitting base layer. Decide whether the kurta should feel close, regular, or relaxed before a maker converts body values into garment measurements.
02. Neck
Measure the base of the neck at the collar line. Note whether the design uses a band collar, open placket, or no closing collar.
03. Shoulder
Measure between the natural shoulder points across the back. Do not copy a dropped-shoulder casual shirt unless that is the intended silhouette.
04. Chest, waist, and seat
Measure the fullest chest, natural waist, and fullest seat with the tape level. Record the body as it is; intended ease is a separate decision.
05. Sleeve and bicep
Measure shoulder point to wrist with a soft bend in the elbow, then the fullest bicep. Record the intended cuff or opening style.
06. Kurta length
Measure from high shoulder point to the intended hem while wearing the planned trouser and footwear. Check front and side proportions.
07. Hem and side slit
Record the desired hem width and where the side slit should begin. Both affect movement and how the kurta sits over the trouser.
08. Reference garment
Measure a kurta whose fit you understand. Keep its garment measurements separate from body measurements and note what you would change.
Before production
A maker must still convert this body evidence into a garment specification. Naap’s review resolves flagged values, desired ease, construction choices, and the fit remedy before production.
Reviewed July 15, 2026 by Naap Editorial. Read the measurement provenance method.