- 1Waist placement
- 2Waist circumference
- 3Fullest hip
- 4Front waist-to-floor
- 5Side waist-to-floor
- 6Back waist-to-floor
Numbered paths are placement cues. Use the written garment-specific steps for exact landmarks, posture, tension, source, and verification.
The short answer
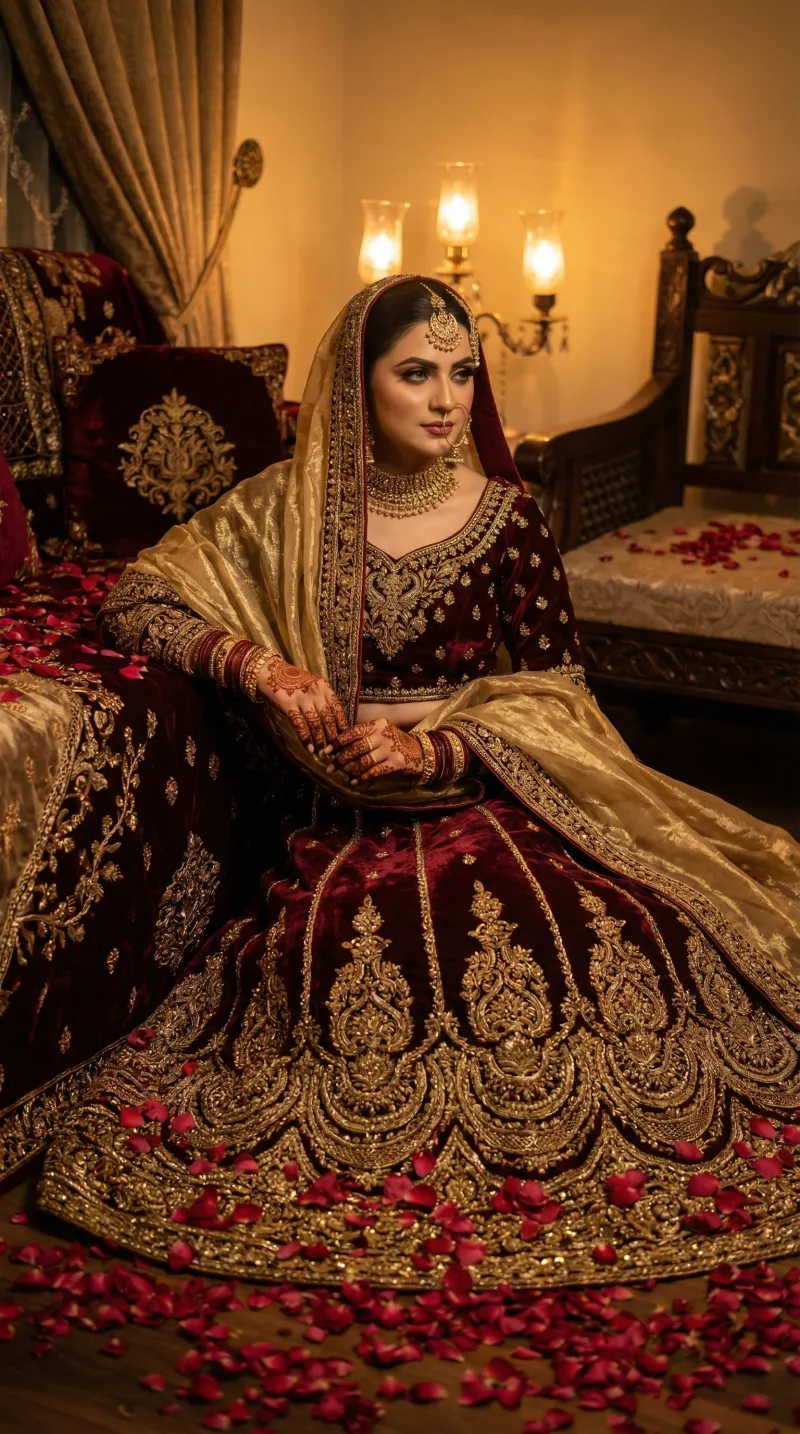
Lehenga measurements depend on the exact waist placement, fullest hip, waist-to-floor length in event footwear, waistband construction, blouse relationship, and planned volume. Bridal weight and cancan change how length must be reviewed.
How to Measure for a Lehenga: step by step
01. Confirm the wearing position
Mark where the waistband will sit before measuring. Natural waist, high waist, and low waist are different circumferences and produce different lengths.
02. Waist and waistband
Measure the marked wearing position level around the body. Record whether the waistband is fixed, tied, elasticated, or adjustable.
03. Fullest hip
Measure the fullest seat and hip with feet together and the tape level. Do not add movement allowance to the body value.
04. Waist to floor
Measure vertically from the waistband position to the floor while wearing the planned footwear. Repeat at front, side, and back for high-risk or heavy garments.
05. Finished lehenga length
The maker converts body length into a finished garment length after accounting for waistband, footwear, cancan, fabric weight, and desired floor clearance.
06. Blouse relationship
Record blouse hem position, exposed midriff preference, and dupatta placement. These are design decisions that affect the full proportion.
07. Volume and movement
Specify flare, panels, gathers, cancan, and expected garment weight. Test sitting, stairs, walking, and stage movement in the final review.
08. Photographic verification
Photograph the waistband mark and vertical tape positions. Repeat any value that conflicts with height, usual size, or reference garments.
Record the context
Write down the garment, desired fit, unit, date, measurer, capture method, and whether each number came from the body or an existing garment. Keep body measurements separate from finished-garment specifications and ease.
Common mistakes
- Measuring the natural waist when the garment sits elsewhere
- Measuring barefoot for heeled event footwear
- Ignoring cancan and fabric weight
- Assuming one waist-to-floor value is enough for a high-risk bridal order
Verification checks
- Compare related circumferences, lengths, height, and usual size for obvious conflicts.
- Repeat high-risk values and photograph the tape position when a landmark can be interpreted two ways.
- Review posture, asymmetry, footwear, support garments, and any expected body change before pattern release.
Printable lehenga checklist
| Field | Value | Source / note |
|---|---|---|
| Waist placement | ____ in / cm | Body / garment / photo |
| Waist circumference | ____ in / cm | Body / garment / photo |
| Fullest hip | ____ in / cm | Body / garment / photo |
| Front waist-to-floor | ____ in / cm | Body / garment / photo |
| Side waist-to-floor | ____ in / cm | Body / garment / photo |
| Back waist-to-floor | ____ in / cm | Body / garment / photo |
| Footwear height | ____ in / cm | Body / garment / photo |
| Waistband type | ____ in / cm | Body / garment / photo |
| Desired floor clearance | ____ in / cm | Body / garment / photo |
| Blouse hem position | ____ in / cm | Body / garment / photo |
| Dupatta plan | ____ in / cm | Body / garment / photo |
| Reference garment | ____ in / cm | Body / garment / photo |
Before production
A maker must still convert this body evidence into a garment specification. Naap’s review resolves flagged values, desired ease, construction choices, and the fit remedy before production.
Reviewed July 15, 2026 by Naap Editorial. Read the measurement provenance method.