- 1Neck
- 2Shoulder
- 3Chest
- 4Natural waist
- 5Seat
- 6Bicep
Numbered paths are placement cues. Use the written garment-specific steps for exact landmarks, posture, tension, source, and verification.
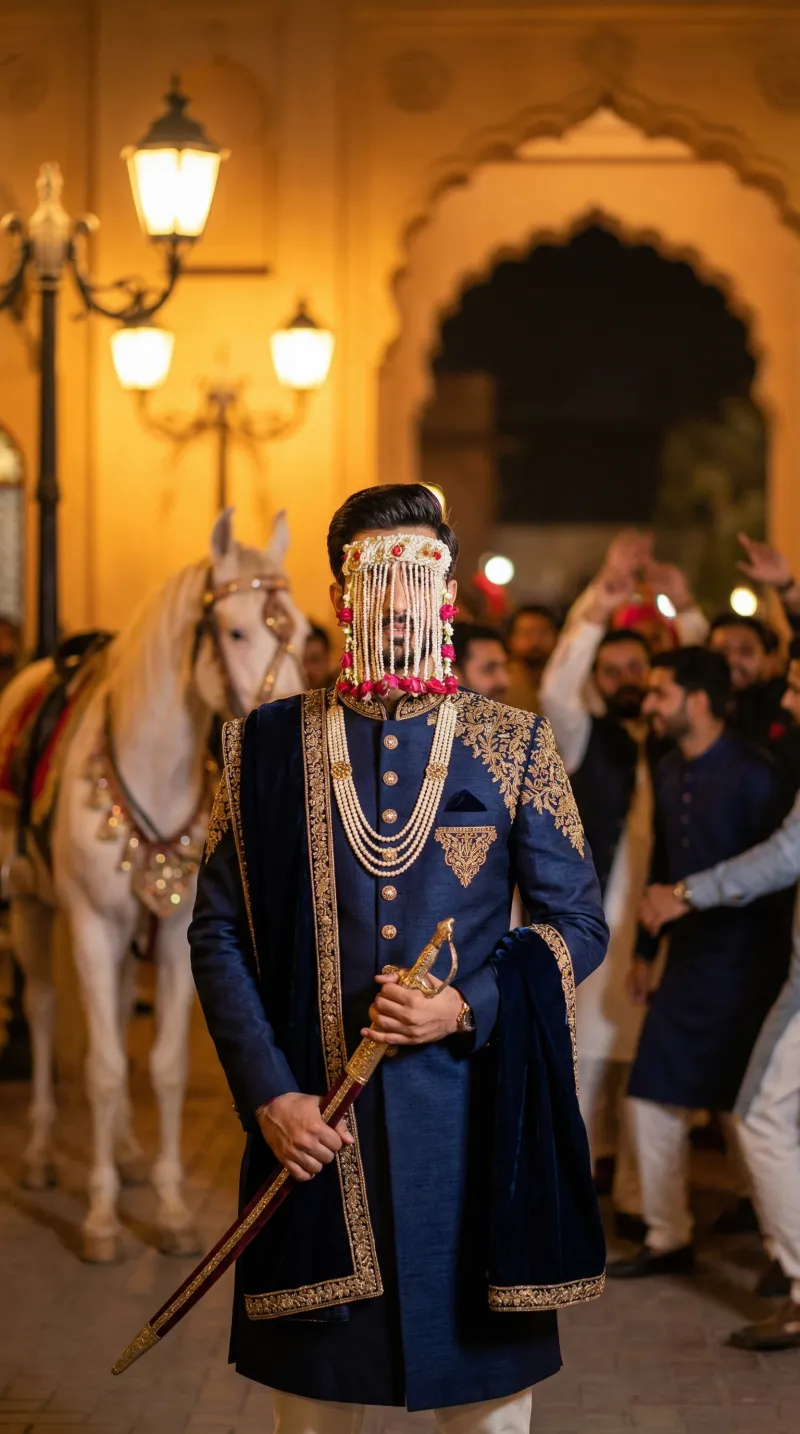
The short answer
Sherwani measurements combine a clean set of body measurements with posture, desired ease, garment length, trouser context, and evidence from a well-fitting reference garment. Body numbers alone are not a finished pattern.
How to Measure for a Sherwani: step by step
01. Prepare the body
Wear a close-fitting shirt or tee, empty every pocket, stand naturally, and ask another person to use a flexible non-stretch tape. Record inches or centimetres once and never mix units.
02. Neck
Circle the collar line without pulling the tape into the skin. Record one body value; collar ease belongs in the garment specification.
03. Shoulder and posture
Measure shoulder point to shoulder point across the back. Add a front, side, and back posture note instead of trying to hide slope or asymmetry inside the number.
04. Chest, waist, and seat
Keep the tape level around the fullest chest, natural waist, and fullest seat. Breathe normally and do not add garment ease to body measurements.
05. Sleeve, bicep, and armhole context
Measure shoulder point to wrist with the arm slightly bent, then the fullest bicep. Photograph the armhole area when a recurring mobility issue needs review.
06. Sherwani length
Measure from the high shoulder point down the front to the intended hem. Confirm the result against height, leg proportion, trouser choice, and footwear.
07. Trouser relationship
Record where the trouser will sit, plus waist, seat, outseam, and ankle direction. A sherwani cannot be proportioned correctly without its lower garment.
08. Reference check
Measure a formal garment that fits well and photograph any tape position that could be interpreted two ways. Mark every value as body, garment, or inferred.
Record the context
Write down the garment, desired fit, unit, date, measurer, capture method, and whether each number came from the body or an existing garment. Keep body measurements separate from finished-garment specifications and ease.
Common mistakes
- Adding ease to body measurements
- Following a loose shirt seam for shoulder width
- Choosing length without footwear and trouser context
- Submitting values without unit, source, date, or measurer
Verification checks
- Compare related circumferences, lengths, height, and usual size for obvious conflicts.
- Repeat high-risk values and photograph the tape position when a landmark can be interpreted two ways.
- Review posture, asymmetry, footwear, support garments, and any expected body change before pattern release.
Printable sherwani checklist
| Field | Value | Source / note |
|---|---|---|
| Neck | ____ in / cm | Body / garment / photo |
| Shoulder | ____ in / cm | Body / garment / photo |
| Chest | ____ in / cm | Body / garment / photo |
| Natural waist | ____ in / cm | Body / garment / photo |
| Seat | ____ in / cm | Body / garment / photo |
| Bicep | ____ in / cm | Body / garment / photo |
| Sleeve | ____ in / cm | Body / garment / photo |
| Front chest | ____ in / cm | Body / garment / photo |
| Back width | ____ in / cm | Body / garment / photo |
| Sherwani length | ____ in / cm | Body / garment / photo |
| Trouser waist | ____ in / cm | Body / garment / photo |
| Trouser outseam | ____ in / cm | Body / garment / photo |
Before production
A maker must still convert this body evidence into a garment specification. Naap’s review resolves flagged values, desired ease, construction choices, and the fit remedy before production.
Reviewed July 15, 2026 by Naap Editorial. Read the measurement provenance method.